Vizo Voyager & Propeller
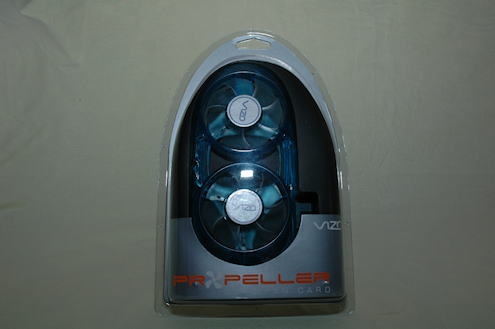
Next out is the Propeller.
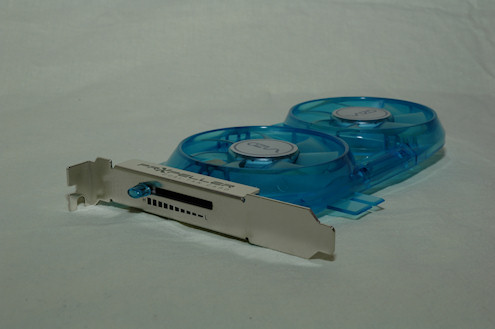
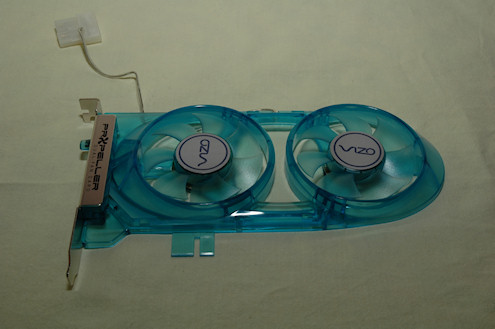
This product is also equipped with two fans that are lighted by four blue LEDs. Instead of placing the LEDs in the outer rim of the fans they are instead placed in the center of the fan, shining out onto the blades.
The Propeller is meant to be placed in the back of your case in any of the PCI slots available. This means that when turned on the fans blow, hopefully, cool air onto for example your poorly cooled graphics card. It can also be good to cool your sound card or perhaps a raid card that usually gets hot.
You can also place the Propeller on the backside of your graphics card to draw away heat from the card and towards for example your rear exhaust fan, if you have one. Otherwise it can also be good to blow some additional air onto your CPU cooler and nearby components.
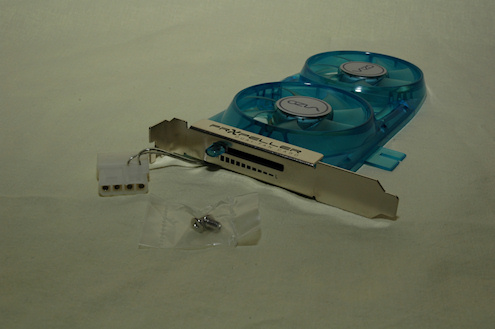
As with the Voyager you connect the Propeller with a connect-through connector to a 4pin molex connector. Then you place the product into an available PCI slot and screw it firmly to the back of your case.
When you turn on your computer you can easily adjust the fan speed with the fan speed regulator at the back of your case, which both has its pros and cons. For example, you need to get to the back of your computer to change the fan speed, but on the other hand you don’t have to worry about a flimsy little box like the Zalman Fanmate.
One thing I miss with the Propeller is that Vizo could have incorporated a heat sensor, with a switch near the fan regulator to switch between fan speed regulator and the heat sensor.
If you had a heat sensor on the Propeller you wouldn’t have to speed up or speed down the fans by yourself to accommodate your gaming needs. So you will probably set the speed to a level where the sound and performance is perfectly balanced.
We will of course take a look on the performance results for the Propeller on the next page as well.
Finally, the performance results for the two products.


