Antec P182
Today we are taking a look at our first computer case since our restart in October 2007. It is the Antec P182, a super mid tower in the performance series.
Antec is well known for creating computer chassis, power supplies and much more. Even if the P182 has some time on its neck it is really fun to have it for test as it is one of the most clean, good looking cases on earth.
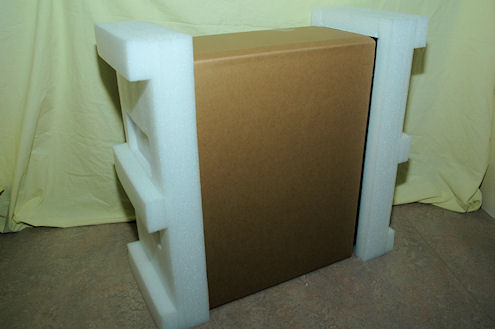
Our P182 comes in a black huge box which shows us what’s inside. When we unpack our beast we see that it is well packaged in styrofoam. Apart from that you have protective film on both the left and right side as well as on the front panel.
This because we have metal sheets on these panels which are dark silver, non-mirror coated.
Very nice finishes which make you think that your computer is ice-cold when you touch it. None of these metal sheets are connected to ground, so you can’t ground yourself and you can’t get a shock if you happen to taste on a 120V/230V line and lay a hand on your case.
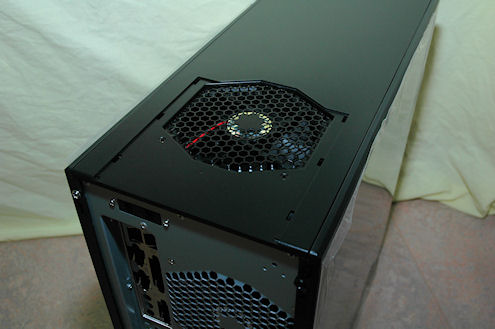
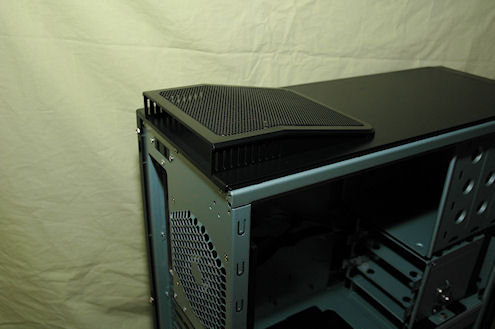
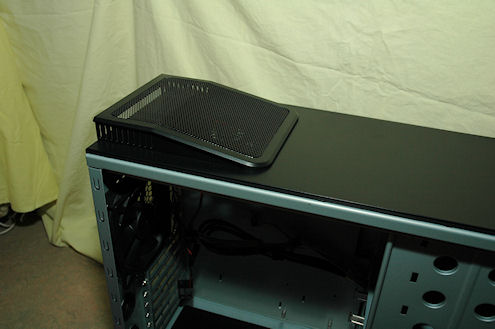
Nice clean top with an exhaust fan in the back. The fan is covered with a honeycomb fan guard so nothing accidentally gets ripped apart if you happen to put it there. If you want you can also install the additional fan guard that also works as an air guide.
At the top-back of the case you find two small 3-step switches. These are used for the top and rear fans with three different speeds; Low, Medium and High.
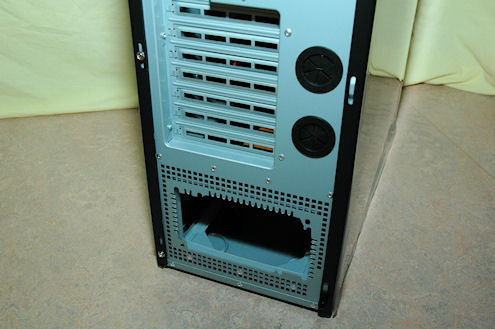
A little lower in the back you find the exhaust fan with is one 120mm fan. Under that you find two rubber grommets where you can either put some cables through, but the main reason for these are that you can use an external water cooling system and put the hoses through these holes.
The P182 also offers something other special, the PSU in the bottom of the case. But the PSU generates heat, why is it placed in the bottom you might ask.
Well we’ll take a look at that a little later when we open up the case on next page.
Both the left and right side are free of any additional fans or holes which add-on for the good looks.
Let’s head over to the front then.
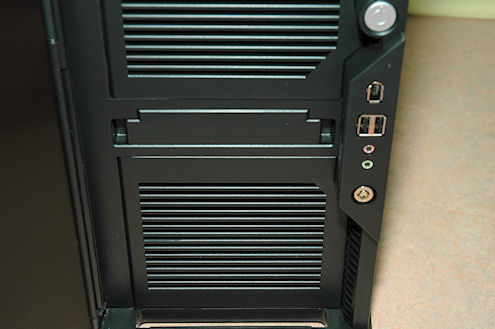
The front panel is also covered with metal all over the door. You can also find a power led, firewire, 2x USB connectors, mic and headphone connector as well as a door lock.
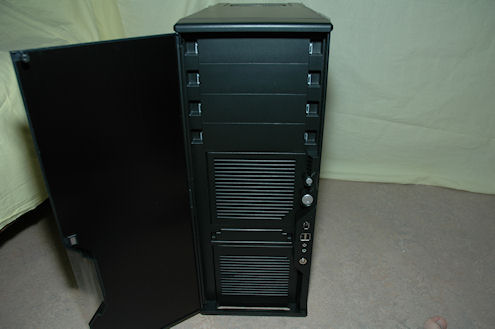
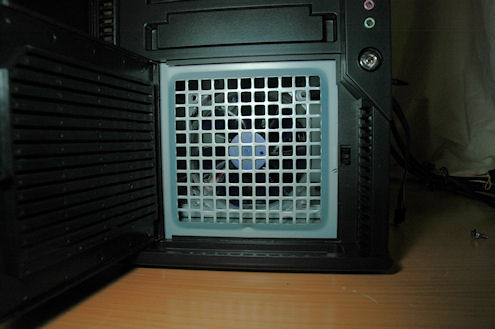
If you open up the door you find all the external drive bays, 4 in total of the 5.25 inch ones, one 3.5 inch and two large doors which hosts two fan filters. In the upper fan door you can place one 120mm fan on the inside of the case, but you can’t place a fan behind the bottom fan door. Unless you use some cable ties and mod it there ;)
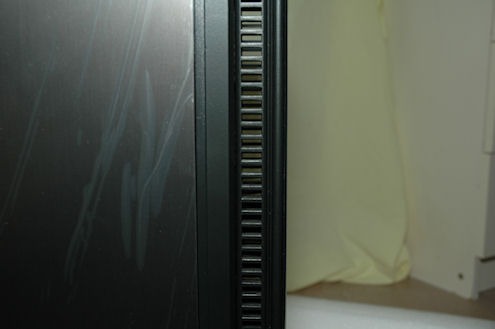
Anyway, behind the door you also find the power and reset buttons and leds for hdd1 and hdd2 activity. In the sides here in the front we find air holes where the air can be taken from for the fan doors.
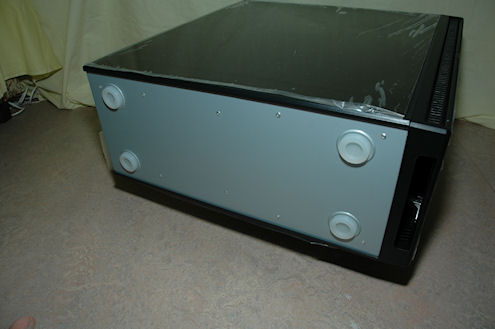
In the bottom of the case we have four large rubber feet which should minimize the transfer of vibrations from the case to the floor.
Also found in the box is a bag with lots of screws, extra cable ties, drive bay fittings for 5.25 drives and keys for the front door.
On next page we will open up the case and take a look inside.


