Antec Nine Hundred Two, Evolved
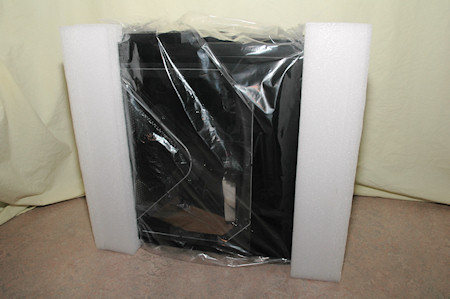
First off we are taking a look at the product package, it secretly shows off a bit of the gaming case and also tells you that it is designed by Antec in California. So hopefully we won’t see any other manufacturers with the same case ;)
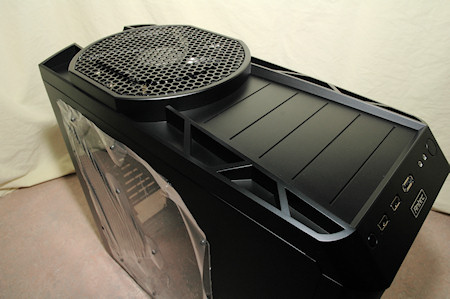
Just by looking at the package you see that the top of the case has changed a bit and it now gives you more space to store your cd, dvd and other stuff that you might want to put on top of your computer. There are also some cavities on the sides of the top panel, design I guess, but what will they be used for? Storing screws perhaps? It’s up to you!
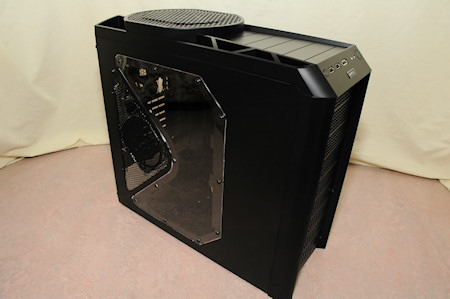
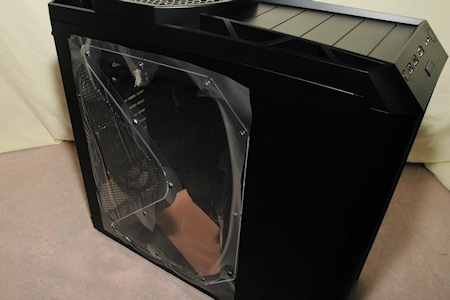
When we dig into the package and extract the gaming case we see that it is well packaged and protected with plastic so it won’t get scratched. After removing all of the padding we can see that this case, just like the earlier version is equipped with a window on the left side. Also the window is protected, this with anti scratch plastic film.
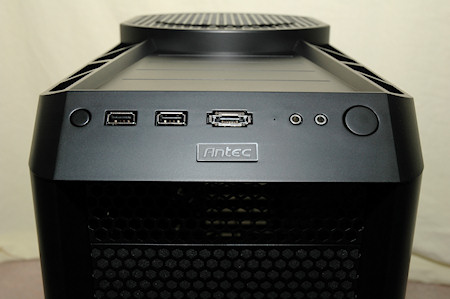
Let’s take a look at the front where the controls are. Here we see from left to right; Reset button, USB times two, eSata, one small hole, mic and headphones and finally the power switch button.
It all looks stylish and at first it may be hard to know which of the two 3.5 mm plugs is for the headphone and which for your microphone, but I guess it’s just up to you to test that out as Antec must have missed it in their quick installation manual or on the case itself.
You might wonder what the “small hole” is for, well it is actually a really stylish HDD led that when lit you just see it. But when your disk drives are idling you can’t see it at all.
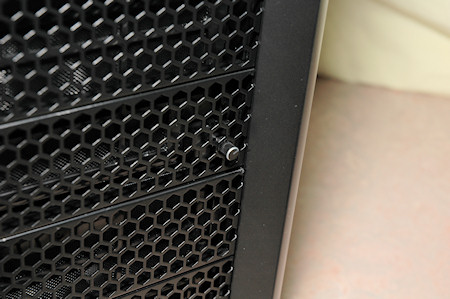
If we guide our eyes a bit down on the front we’ll see that all of the 5.25 inch drive bays are covered with punched metal pieces. These are a little bit special, at least if you haven’t seen the earlier version of the Nine Hundred. First one, nothing special just unmount it and install your cd/dvd/blu-ray drive.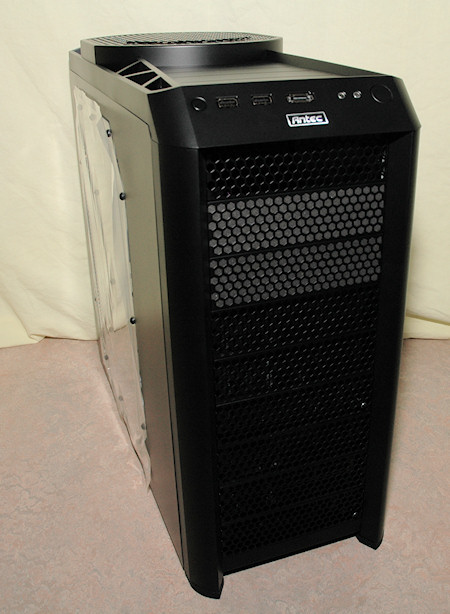
Second and third plate is covered on the inside with noise dampening material, both to lower the noise, if you don’t install anything in those two slots, and also to prevent air to be sucked in there instead of through the filters.
Because in the next two by three slots you have one air filter each and also a fan inside. These two fans are 120mm, blue led, TriCool fans. These fans are mounted on disk drive holders where you install your disk drives to get ultimate cooling, more on that later on.
Before we head on however, let’s have a look at two pins that you can see come through the honeycomb punched metal. These are actually trim potentiometers which are used to control the speed of the fan inside. You have two of these controllers on the front.
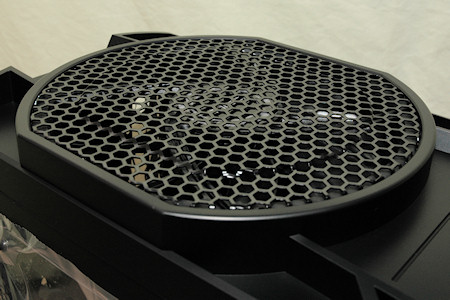
Next up is the top panel, which is housing the 200mm gigantic exhaust fan. As I said earlier you can also put things here, well perhaps not on top of the fan but in front of it ;)
The material you see here is all plastic, but it feels like it’s not the same old plastic cheaper chassis are made of, it feels strong and reliable.
The 200mm fan also has this punched metal as a fan guard. The honeycomb design is widely used today and if you don’t remember why everyone started with it, it’s because some engineer found out that it produce less noise than round holes so therefore you see it everywhere nowadays.
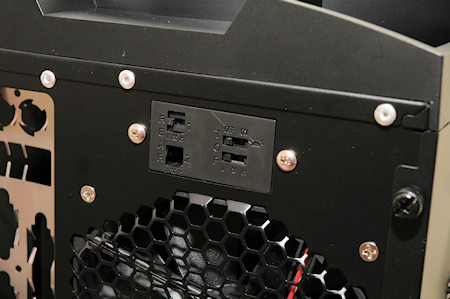
If we climb to the back of the case we can first have a look at the TriCool controller. Up here we have the controller for the rear fan and the top fan, as well as the led controller for the top fan.
Starting out it is set to low speed on both fans and the leds are turned off, I think this is a great feature that has gone one step further. Sad though that you can’t turn off the leds in the rear fan, but maybe this is their first test? I don’t actually know how it was on the previous version so I can’t say for sure there.
But we also find that the controller plate back here is ready for a second TriCool controller, perhaps in a coming case we will see two fans at the back?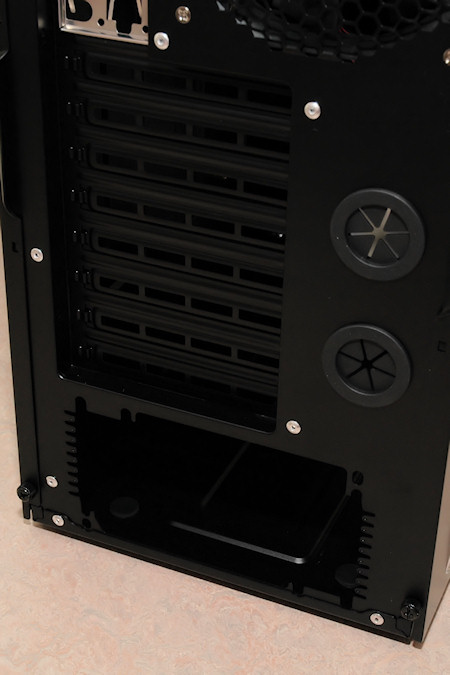
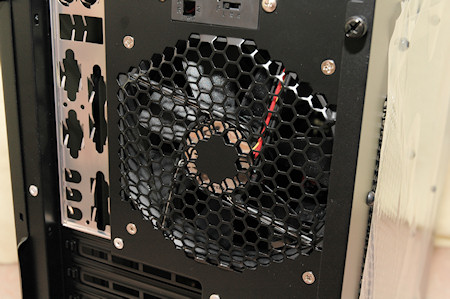
The rear fan as well has the honeycomb punched metal to reduce noise from the air going through.
Furthermore we can see that we have 8 expansion slots for add-on cards, we also find two rubber covered holes to use an external water-cooling product with the case. This is more or less standard today.
At the bottom the power supply is housed, the Nine Hundred Two does not come with one pre-installed. Might be good however as the case is aimed at gamers who probably already have the most high-tech gear or choose to buy a new powerful power supply when they decide to get the Nine Hundred Two.
Not much, but there is enough space under the power supply if your power supply have a fan in the bottom to suck in air from inside the case and blow it out at the back.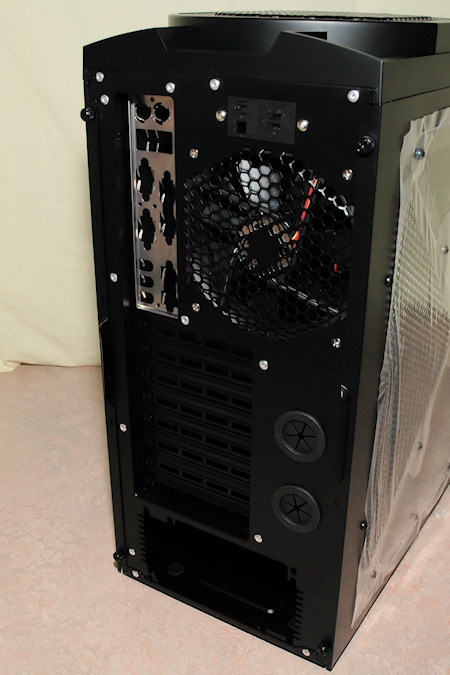
Pretty much any ATX power supply should fit this case.
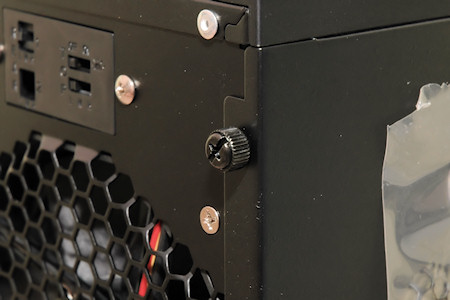
Last look is at the thumbscrews for the sidepanels, we get four in total and that is two for each side, perfect! Also have a look at the handles to open up the side panels, I really missed this on P182.
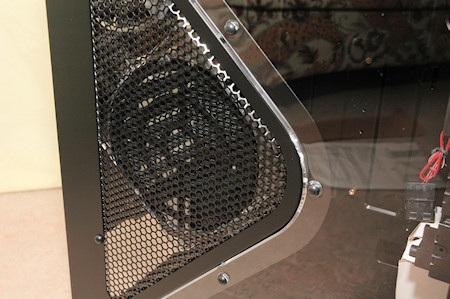
If we take a look on the left side of the Nine Hundred Two we can see that it is fitted with an acrylic window. Thanks to the anti scratch plastic film it has been well protected during transport. When we remove it we can see the good finish in it, like a mirror :)
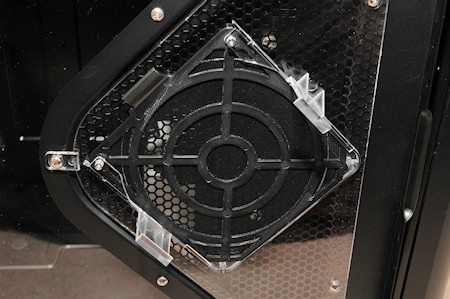
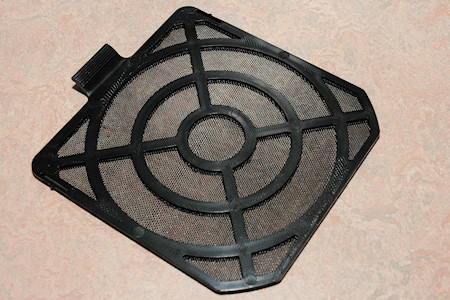
Also found on the side panel is a mounting spot for a fan. This was also found on the previous version but this one has been improved since then, it now features a washable air filter.
On next page we’ll dig through the inside.


