Antec Nine Hundred Two, Evolved
So let’s remove the side panel and have a look inside.
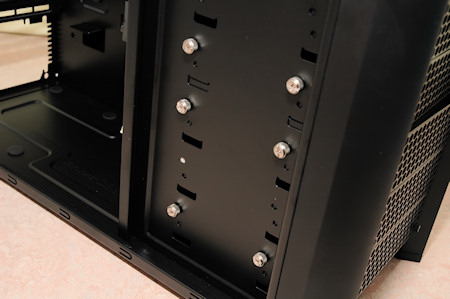
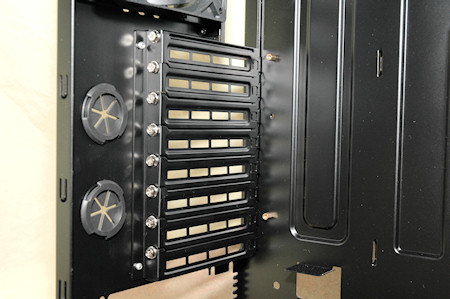
First off we see the thumbscrews near the front of the case. These hold the disk drive holders I was talking about earlier. If you remove these thumbscrews you can extract the whole drive cage to install new drives easily.
Also these drive cages are fitted with washable air filters as well, so when they need cleaning you have to remove these thumbscrews, pull the drive cage one inch out and then you can pull the air filter straight up.
You can also do this while the power is on. However it is a bit time consuming to remove both side panels, all the thumbscrews and then pull the drive cage out to get to the air filter. So if you have a dirty surrounding and need to clean your filters often, I would suggest not fastening the drive cage on the right side so you only have one side to undo to be able to pull out the air filters.
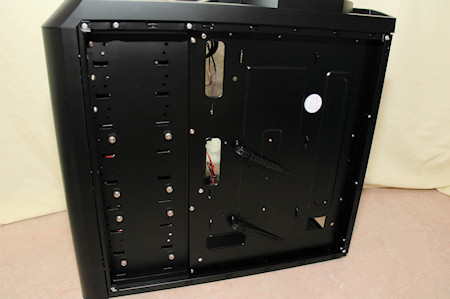
Next up I would like to show you the right side of the case with the side panel taken off. Here you basically see the same setup as on the other side with thumbscrews, remember you can also use the thumbscrews to fasten your optical drive in the top if you want.
The motherboard tray features three holes for cable management and they also gives you two straps to arrange your cables. We have tried managing the cables as good as we can and if you think we should have done in another way, post a comment and we’ll consider a remake ;)
One thing I really like with this case is the open space. If you remove the drive cages and the 5.25 cover plates in the top three bays the case is pretty much totally empty, I really like this, and I believe it’s a great design.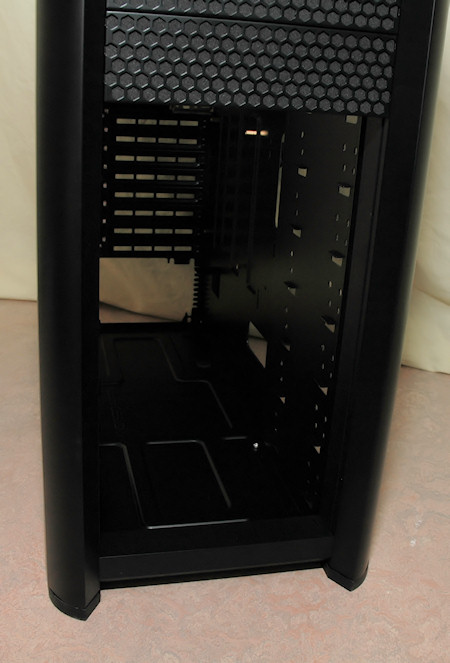
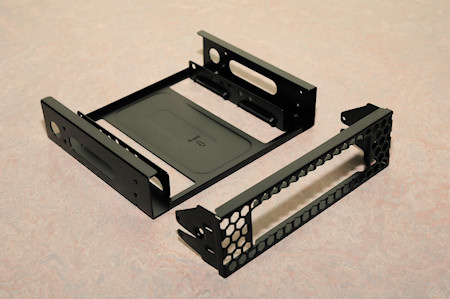
Also remember that you can remove the front cover plates from the drive cages to fasten them directly to the frame of Nine Hundred Two. Perfect if you want to rearrange the inside and perhaps build a water-cooling system inside the case instead.
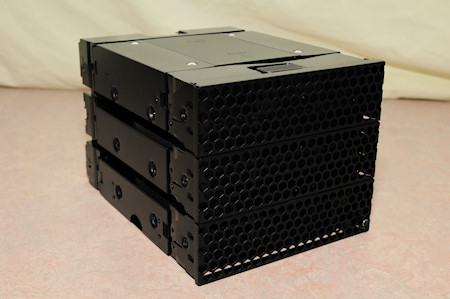
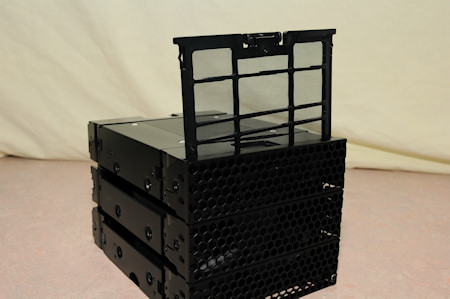
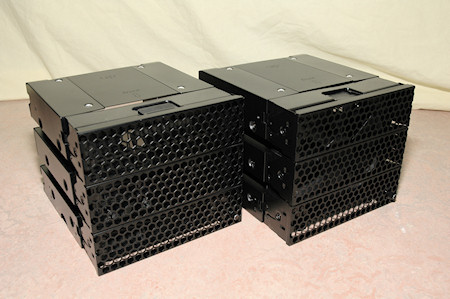
Ok, let’s have a look on the extracted drive cages. They are designed as three optical drives and the bottom front panel houses the fan controller, as you can see bottom right in the picture.
Also you can see that we pulled the air filter up which is thin and is probably as easy to clean as any previous versions Antec has given us in their other chassis.
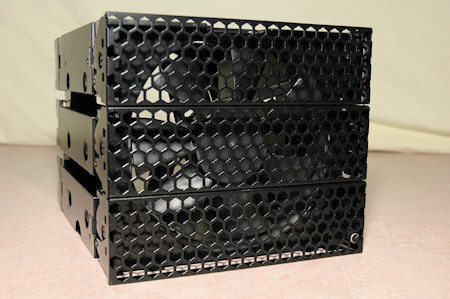
When the air filter is removed you can easily see the fan inside.
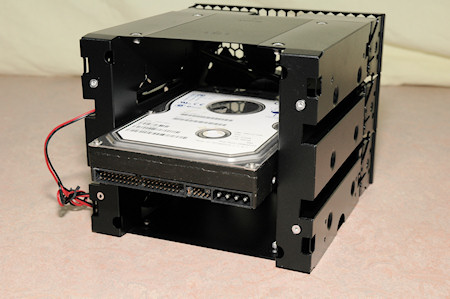
Turning the drive cage around unveils another fan mount. Default this is installed in the upper drive cage but it must be removed in two cases. First one is if you want to install disk drives in the upper cage and the second reason is if you use a long graphics card.
It is pretty much the same situation as with the P182. Nothing special with that, but just so you know ;) However you can fasten the fan mount on the lower drive cage if you don’t install any disk drives there, then the cage becomes an air tunnel and improves air flow!?
Also if you use a long graphics card you won’t be able to use the middle spot in the upper drive cage as the graphics card extend right into this spot.
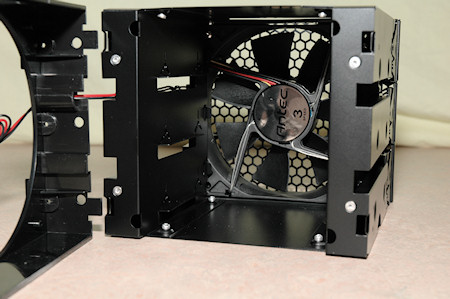
When we take a look inside the drive cage we see the fan inside and also the stands on which you lay the disk drives and fasten them from the outside of the cage.
With this cage you get a lot of screws, many usual ones with paper washers and also spacers for the motherboard, regular stuff.
New with the Nine Hundred is the long screws that are used to fasten the disk drives in the disk cages. Otherwise it will be pretty much impossible to fasten them ;)
We also find, like in the earlier version a 5.25 inch converter, so that you get an external 3.5 inch front bay. Usable if you have a disk drive, memory card reader or perhaps an Ares II from Vizo, the two bay 2.5 inch disk rack.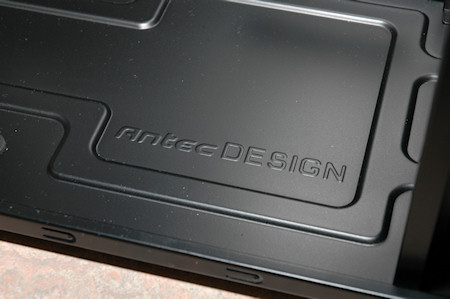
Let’s head on and have a look inside the case now. If you ever forget who made this fine computer chassis, just have a look at the bottom of the case ;)
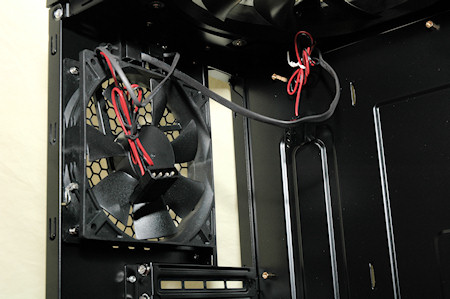
In the back of the computer we can see the IO hole and the rear fan with normal molex connect-through connectors, it is also the same for the top and the front fans. I don’t know if you can see it properly, but the fan is screwed directly to the metal in the case, no vibration reduction seen here.
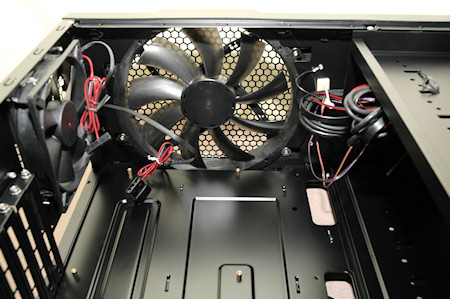
A look from the inside at the 200mm top fan, also take a look at the beautiful black inside while you’re at it ;)
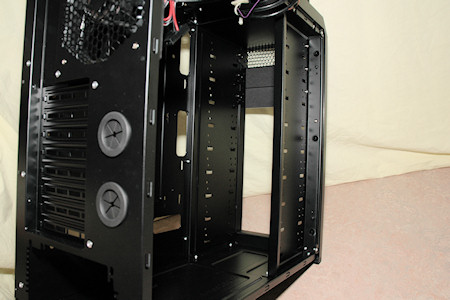
The expansion slots are visible in the picture below as well as the rubber grommets for water hoses if you use water-cooling.
At the bottom of the case you can also see four vibration reduction standoffs for the power supply. However there are no vibration reduction pads for the backside of the case, so how much it helps with the ones in the bottom I don’t know.
Lots of cables shown in the picture below for the front IO ports.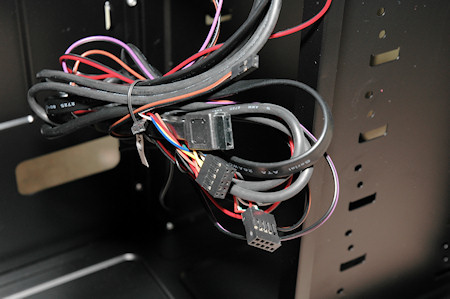

A picture of the installed system and as I said before, if you have any ideas for a better cable management than what I have accomplished here, post a comment on the review and let me know!
On next page we take a look at the Nine Hundred Two powered up and our conclusion for the review.

